


Wine Rack CNC Files
Wine Rack CNC Files
Regular price
$10.00
Regular price
Sale price
$10.00
Shipping calculated at checkout.
Quantity
Couldn't load pickup availability


It holds six bottles and isn't trying to be anything more than that.
You can build it with an open front or a closed front. Both versions are included.
What's in the download
- DXF cut files for the open-front and closed-front versions
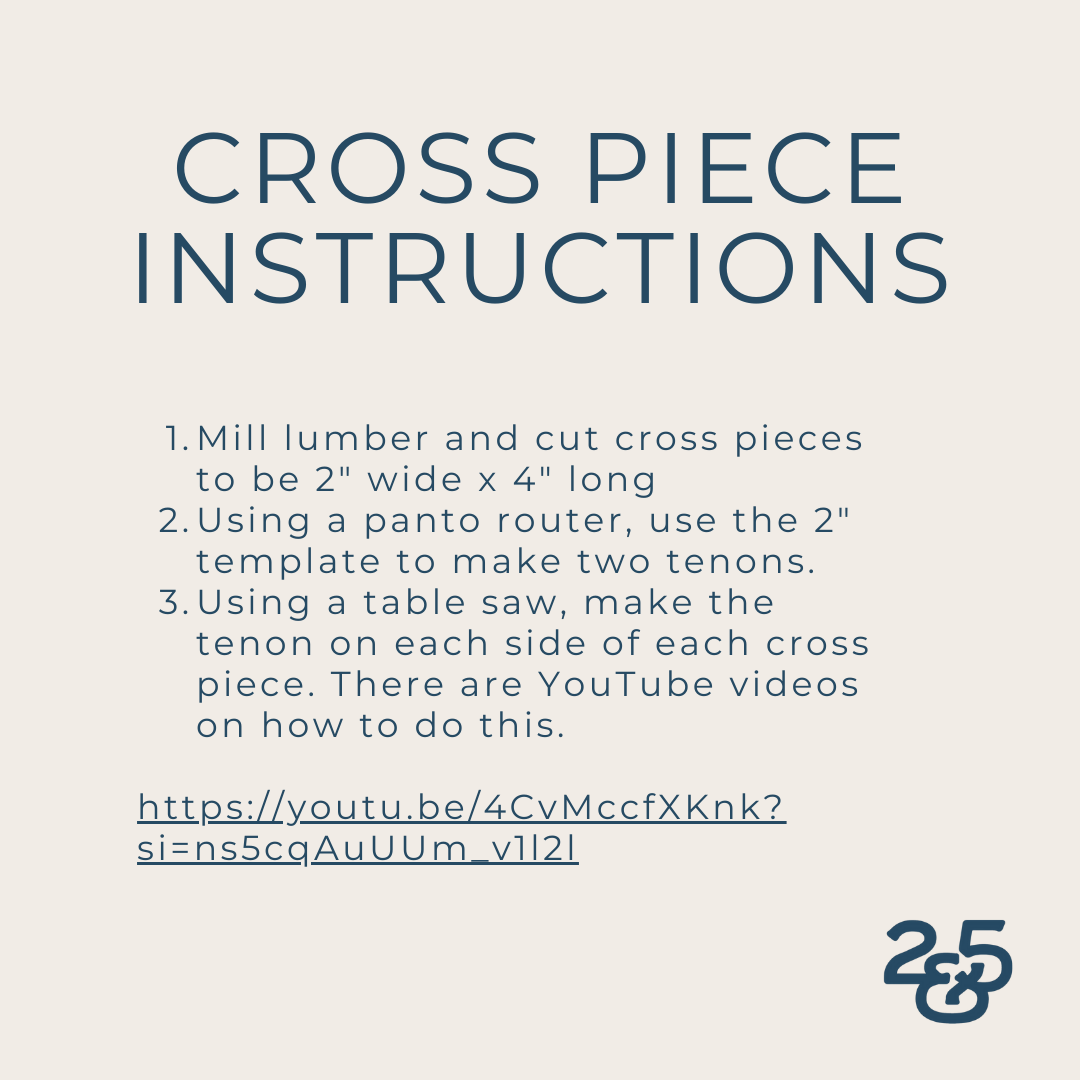
- Crosspiece instructions
Specs
- Finished size: [size]
- Material: 3/4" plywood (.71" actual) or hardwood
- Bit: 1/4" end mill
Good to know
- Digital download, so nothing ships.
Collapsible content
Materials Needed
Assembly Instructions
You May Also Like:
-
Kids Balance Board CNC File
Regular price $10.00Regular price -
Nesting Hexagon Tables CNC File
Regular price $15.00Regular price -
Flircle & Square Plant Stand Files
Regular price $10.00Regular price -
CNC File Bundle (ALL)
Regular price $75.00Regular price$102.00Sale price $75.00Sale


