Your Cart is Empty
Crafting Your Unique Space: DIY Table Kits

Welcome to the world of hands-on creativity! Our DIY Table Kits—a fantastic way to bring a touch of your personality into your living space. Imagine crafting a table that not only suits your style but also reflects the satisfaction of creating something with your own hands. Our kits include all the essentials: two tops, two legs, and four rubber feet. Today, we'll guide you through the process of turning these components into a functional and beautiful table for your home.
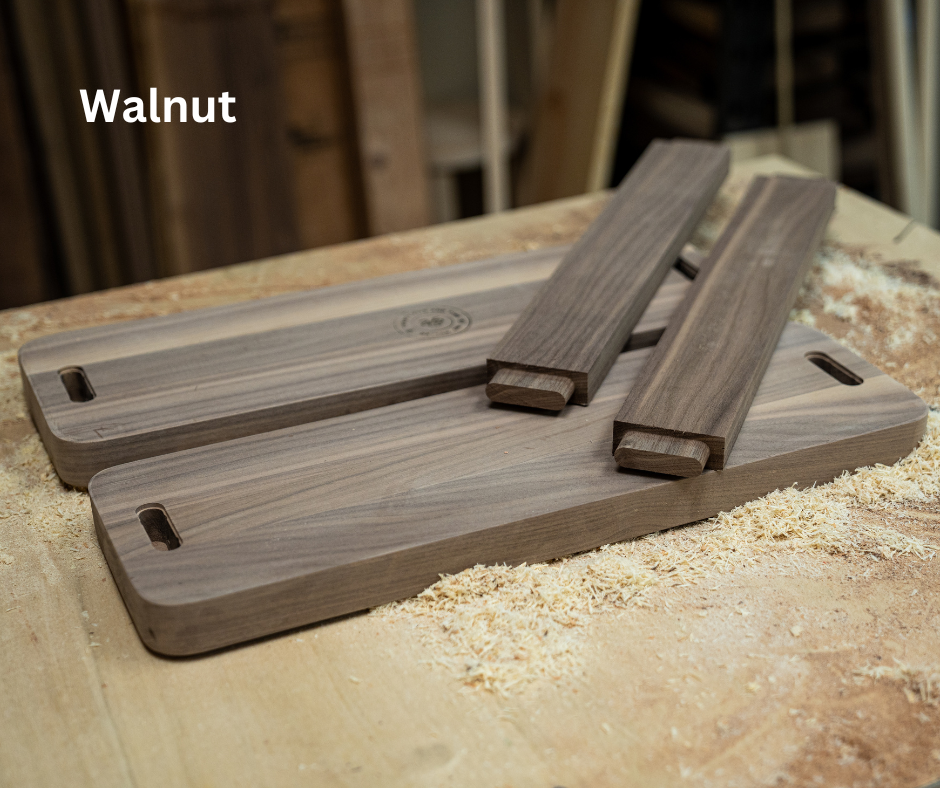
Materials in the Kit: Our DIY Table Kit comes with precision-cut components, designed with ease of assembly in mind. You'll find two tops with carefully crafted mortise cutouts, two legs featuring a tenon on each end, and four rubber feet to give your finished table stability and protection.
Step 1: Sanding for Smooth Surfaces: Start your DIY adventure by sanding the tops and legs. Smooth surfaces not only enhance the aesthetic appeal but also ensure a comfortable and safe finish. Use 120 and 150 sandpaper to achieve a polished look, paying attention to edges and corners for a professional touch.
Step 2: Assembling the Pieces: Once your surfaces are silky smooth, it's time to bring your table to life. Add wood glue to both the mortise and tenon. Insert the tenons on the legs into the mortise cutouts on the tops. The precision cut ensures a snug fit, and you'll feel the satisfaction of each piece locking into place. Assemble the components securely, and voila! Your table is starting to take shape.
Step 3: Adding the Finishing Touch: Now comes the exciting part—finishing your DIY masterpiece. Choose a finish that complements your style and the ambiance of your space. Whether it's a natural wood finish, a vibrant paint color, or a sleek varnish, the choice is yours. Apply the finish, following the manufacturers instructions, evenly across the surfaces, allowing the beauty of the wood to shine through.
Step 4: Sturdy Support with Rubber Feet: Complete your table by attaching the provided rubber feet. These not only add a touch of sophistication but also protect your floors from scratches. The rubber feet ensure stability and prevent slipping, making your table both stylish and functional.
Conclusion: Congratulations! You've just transformed a few simple components into a personalized table that speaks volumes about your creativity. Our DIY Table Kits are more than just furniture—they are a canvas for your imagination. Share your finished masterpiece on social media, and let others be inspired. Get ready to enjoy a table that not only serves a purpose but also tells a story—a story of craftsmanship, creativity, and your own individual style. Happy crafting!
Leave a comment
Comments will be approved before showing up.